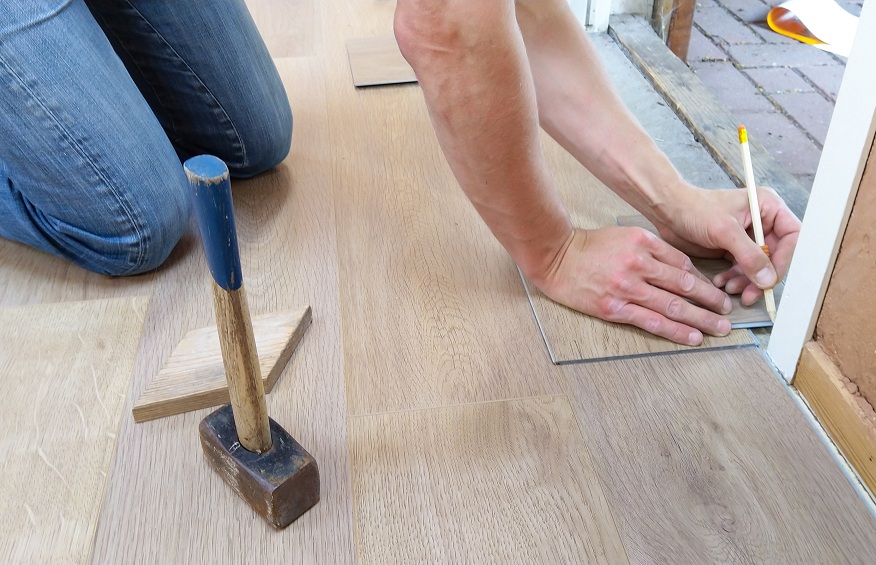
The Ultimate Guide to Laying Laminate Flooring
Laminate flooring has become a popular choice among homeowners and room addition contractors for its aesthetic appeal, durability, and cost-effectiveness. It’s an ideal solution for any room addition, offering a hardwood-like appearance without the hefty price tag. The cost of a room addition in The Bay Area can be significantly reduced by opting for laminate flooring. In this guide, we will walk you through a step-by-step process to laying laminate flooring like a pro.
Benefits of Laminate Flooring
When considering a room addition or flooring renovation, the choice of flooring material plays a pivotal role. Laminate flooring emerges as an excellent option due to its myriad benefits. Here’s a rundown of the advantages that come with choosing laminate flooring:
- Cost-Effectiveness: Laminate flooring is significantly less expensive than traditional hardwood or stone flooring. This cost-effectiveness is especially beneficial when managing the cost of a room addition in The Bay Area, where expenses can quickly add up.
- Durability: Known for its robustness, laminate flooring can withstand high traffic, scratches, and impacts. Its tough external layer and resin coating provide a strong surface ideal for busy households and commercial spaces.
- Easy Installation: The installation process of laminate flooring is straightforward, making it a favorite among DIY enthusiasts and room addition contractors. The click-lock design allows for a glueless installation, speeding up the process and reducing mess.
- Aesthetic Appeal: Laminate flooring mimics the look of real wood or stone, offering a wide range of styles, colors, and textures. This versatility allows homeowners to achieve a desired aesthetic without compromising on budget.
- Low Maintenance: Maintaining laminate flooring is a breeze. It requires regular sweeping and mopping to keep it looking fresh. Additionally, it doesn’t need any waxing or polishing, which cuts down on maintenance time and costs.
- Eco-Friendliness: Laminate flooring is often made with recycled materials and doesn’t involve the harvesting of rare or endangered trees, making it an eco-friendly choice. Moreover, its long lifespan ensures that it remains a sustainable option for years to come.
- Hygienic and Allergy-Friendly: Laminate’s moisture and stain-resistant surface make it a hygienic choice, repelling allergens, dust, and dirt. Its tight seal prevents irritants from building up, promoting a cleaner, healthier living environment.
- Resale Value: The attractive look and durable nature of laminate flooring can contribute to the resale value of your home. Potential buyers often appreciate the stylish appearance and low maintenance that laminate flooring offers.
- Underfloor Heating Compatibility: Laminate flooring works well with underfloor heating systems, providing a warm and comfortable surface during the colder months.
- Easy Replacement: Should a section of your laminate flooring become damaged, replacing the affected planks is relatively straightforward. This ease of replacement ensures that your floor can maintain its appeal without a complete overhaul.
Opting for laminate flooring is a smart decision for those looking to achieve a beautiful, durable, and cost-effective flooring solution. Its vast range of benefits caters to a variety of needs and preferences, ensuring a satisfactory choice for homeowners and room addition contractors alike.
Preparation is Key
Before embarking on this project, it’s essential to gather all necessary materials and tools. Here’s what you will need:
- Laminate flooring planks
- Underlayment
- Tape measure
- Spacers
- Saw
- Hammer
- Tapping block
- Pull bar
Step 1: Measure Your Space
Start by measuring the room to determine the amount of laminate flooring you’ll need. It’s advisable to purchase an extra 10% of flooring to account for cuts and errors.
Step 2: Acclimate the Flooring
Laminate flooring needs to acclimate to the room’s temperature and humidity for at least 48 hours before installation. Stack the laminate boxes in the room where they will be installed and let them sit.
Step 3: Prepare the Subfloor
Ensure the subfloor is clean, level, and dry. Any irregularities in the subfloor may cause problems with your laminate flooring down the line.
Step 4: Install the Underlayment
The underlayment provides a smooth surface and absorbs sound. Roll out the underlayment and trim it to fit, ensuring it covers the entire floor area.
Step 5: Plan Your Layout
Plan the layout of your laminate flooring. The first and last rows should be at least 2 inches wide. If they aren’t, you’ll need to cut the first row narrower to ensure the last row is wide enough.
Step 6: Install the First Row
Start in a corner and place spacers along the walls to maintain a gap that allows for expansion. Lay down the first plank, and then connect the next plank end-to-end. Continue this process until the first row is complete.
Step 7: Cut and Install the Remaining Rows
Use a saw to cut the planks as necessary, ensuring they fit perfectly. Stagger the joints as you install the remaining rows, maintaining a random pattern to achieve a natural appearance.
Step 8: Install the Last Row
The last row may need to be trimmed lengthwise to fit. Use a pull bar to snugly fit the last row into place.
Step 9: Install Transitions and Baseboards
Now, install transitions between the laminate flooring and other types of flooring. Attach the baseboards to cover the expansion gap around the perimeter of the room.
Step 10: Clean and Enjoy Your New Flooring
Finally, clean the flooring with a laminate-approved cleaner and enjoy the new look of your room!
Laminate flooring installation is a rewarding project that significantly enhances the aesthetics and value of your home. With careful preparation and attention to detail, you can achieve professional-level results, even as a DIY enthusiast. Room addition contractors in The Bay Area often recommend laminate flooring as a cost-effective alternative to traditional hardwood, making it a smart choice for those looking to manage the cost of a room addition.


Leave a Reply
You must be logged in to post a comment.